Documentation
- Anita El-Tobbagi (Unlicensed)
How to use the Import/Export Page Utility for Confluence
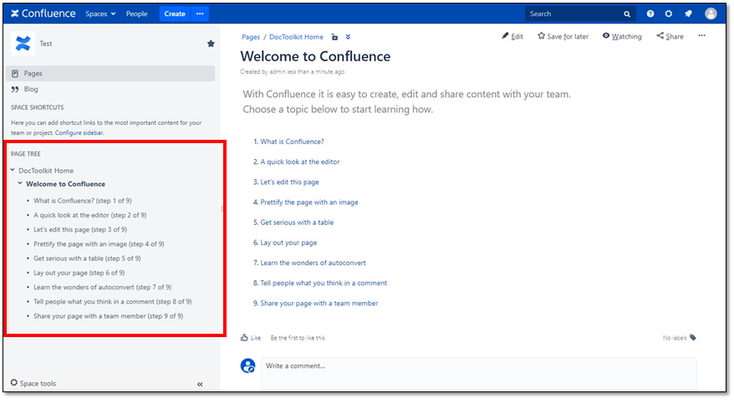
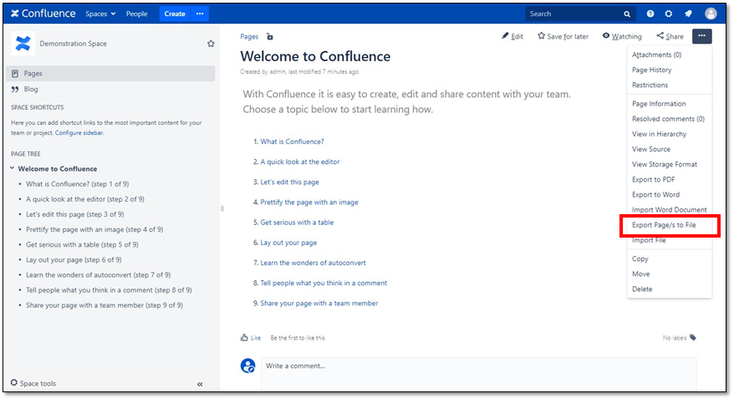
1. Navigate to the page you wish to export. From the ellipses menu on the top right of the page, select Export Page/s to File.
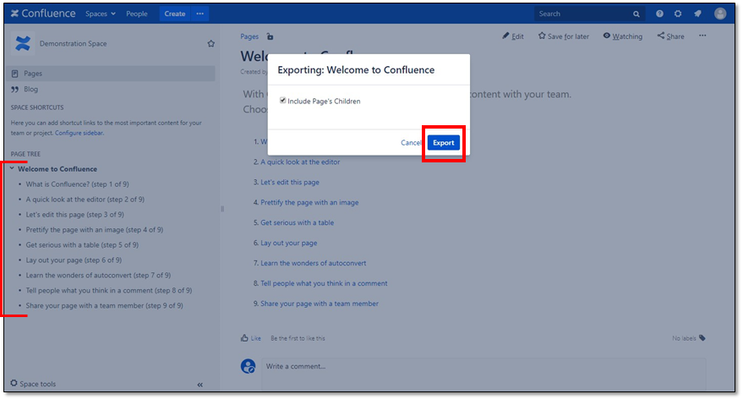
2. A dialog box will appear, select Export. If you wish to include all child pages in the export, check the Include Page’s Children checkbox.
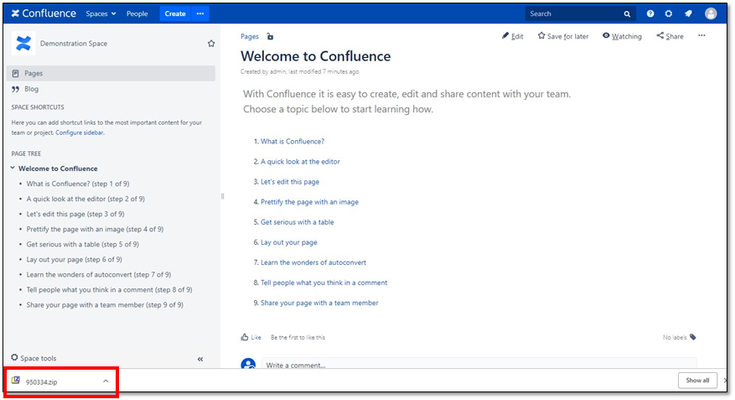
3. A zip folder will be generated and downloaded
4. Navigate to the location where you would like to import these pages. This can be a location in the same Confluence instance, in a different space, or in a separate Confluence instance that is running the same app/plugin.
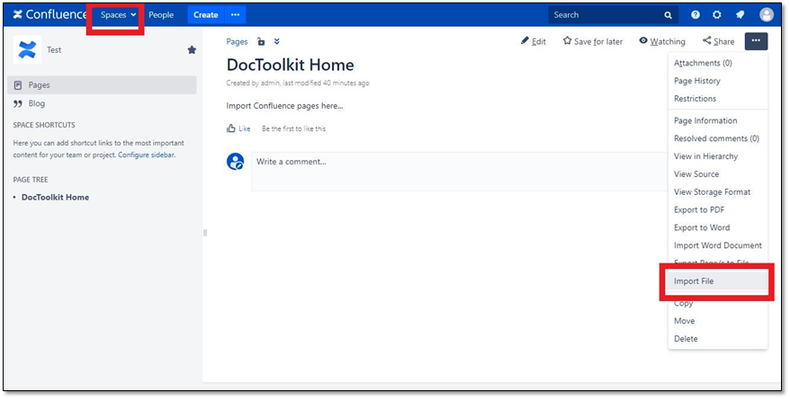
5. From the ellipses menu on the top right of the page, select Import File.
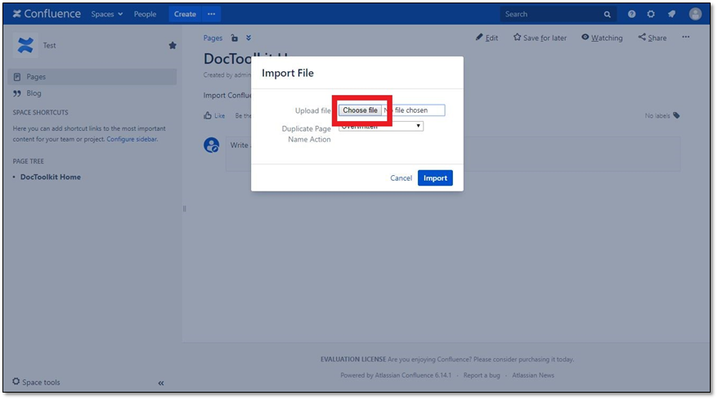
6. A dialog box will appear and ask for you to choose a file to import.
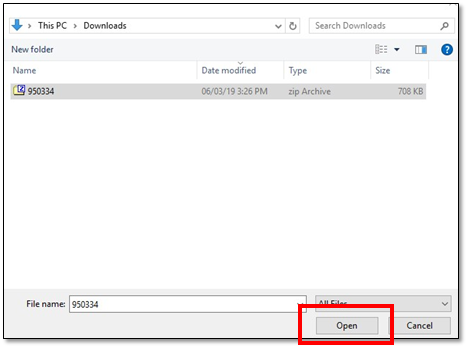
7. Select Choose File, navigate to the zip folder that was generated and select Open.
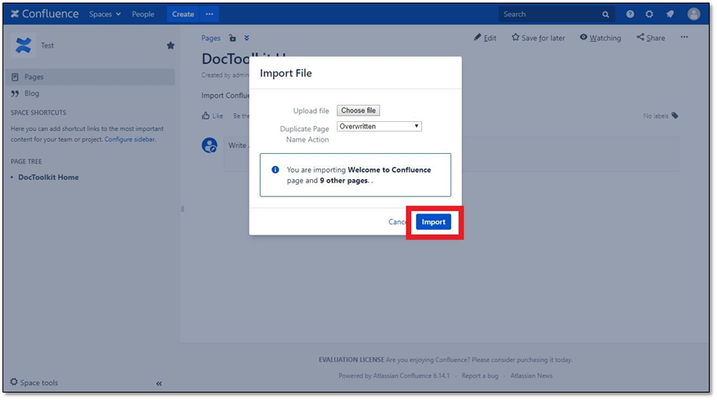
8. The Duplicate Page Name Action drop down in the dialog box allows you to select what happens if the imported has a duplicate name in the new space. You can either select to overwrite the existing pages or, add a random 3 digit suffix to the name to identify the new pages that can later be renamed/edited.
9. Select Import.
10. When finished loading, a notification will appear in the top right of the screen with a green tick labelled Page is successfully imported.
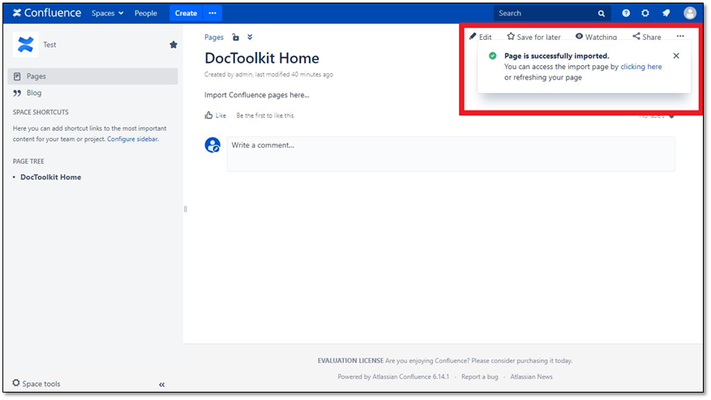
11. Click the link in the notification to refresh Confluence and to reveal the newly imported pages.